How to Hang Mairi Helena Wallpaper - Our DIY Tips
As we’re all spending a lot of time at home at the moment, I thought it may be useful to put together a little post to provide some DIY tips on how to hang my Mairi Helena wallpaper! Just in case you have a wallpaper project on the agenda...perhaps your downstairs bathroom, or kitchen wall are in need of a flourish of pattern? Now may be the very time to do it, to help add a bit of colourful cheer and lift the mood.
Before you start hanging your wallpaper, here are a few things to note:
Use a good quality, solvent free, fungicide protected ready-mix ‘tub’ adhesive
Paste the wall application, NOT the back of the wallpaper.
Paste should be applied evenly to the wall to hang one length at a time, to an area slightly wider than the width of the paper

Draw your vertical line
This helps you to align your first drop
TOP TIP To start, draw a vertical line down the wall to align your first piece. Take time to work out where your drops are going to fall on the wall to avoid being left with a drop at the edge of the wall which just requires a narrow strip.
TOP TIP Hang the wallpaper just above where the ceiling starts and crease along the line where the wall meets the ceiling. This allows you to align your wallpaper accurately as not all ceilings will be at 90 degrees to the vertical.

Use a decorators brush or soft cloth to smooth down the wall covering, working from the centre out to the edges to express bubbles

Make sure the paste doesn’t get on the brush or cloth. If this does happen then lightly sponge whilst still moist, using a damp clean sponge.
Wallpapering around plugs - turn off the electrics and ensure the sockets aren’t live! Unscrew the socket slightly. Let the wallpaper drop fall so that you can crease gently around the socket. Cut diagonally from the centre just past each corner of the socket then trim so it just overlaps the socket. Then simply tuck underneath the socket and screw back in place.

Wallpapering around plugs
TOP TIP
Wallpapering angles - fold along the line of the sloping wall and use this crease line to help guide your cut line

And there you have it!
An instant room refresh for Spring, featuring my Woodland Rider Wallpaper from my Explorer Collection.
If you’re looking for wallpaper ideas for your own home, then you can browse my full range here. There are samples available across all my fabrics and wallpapers so that you can visualise the colours in your home, and for every wallpaper there are three suggested paint colours to complement from the Craig and Rose range.
Good luck with your very own wallpaper projects!
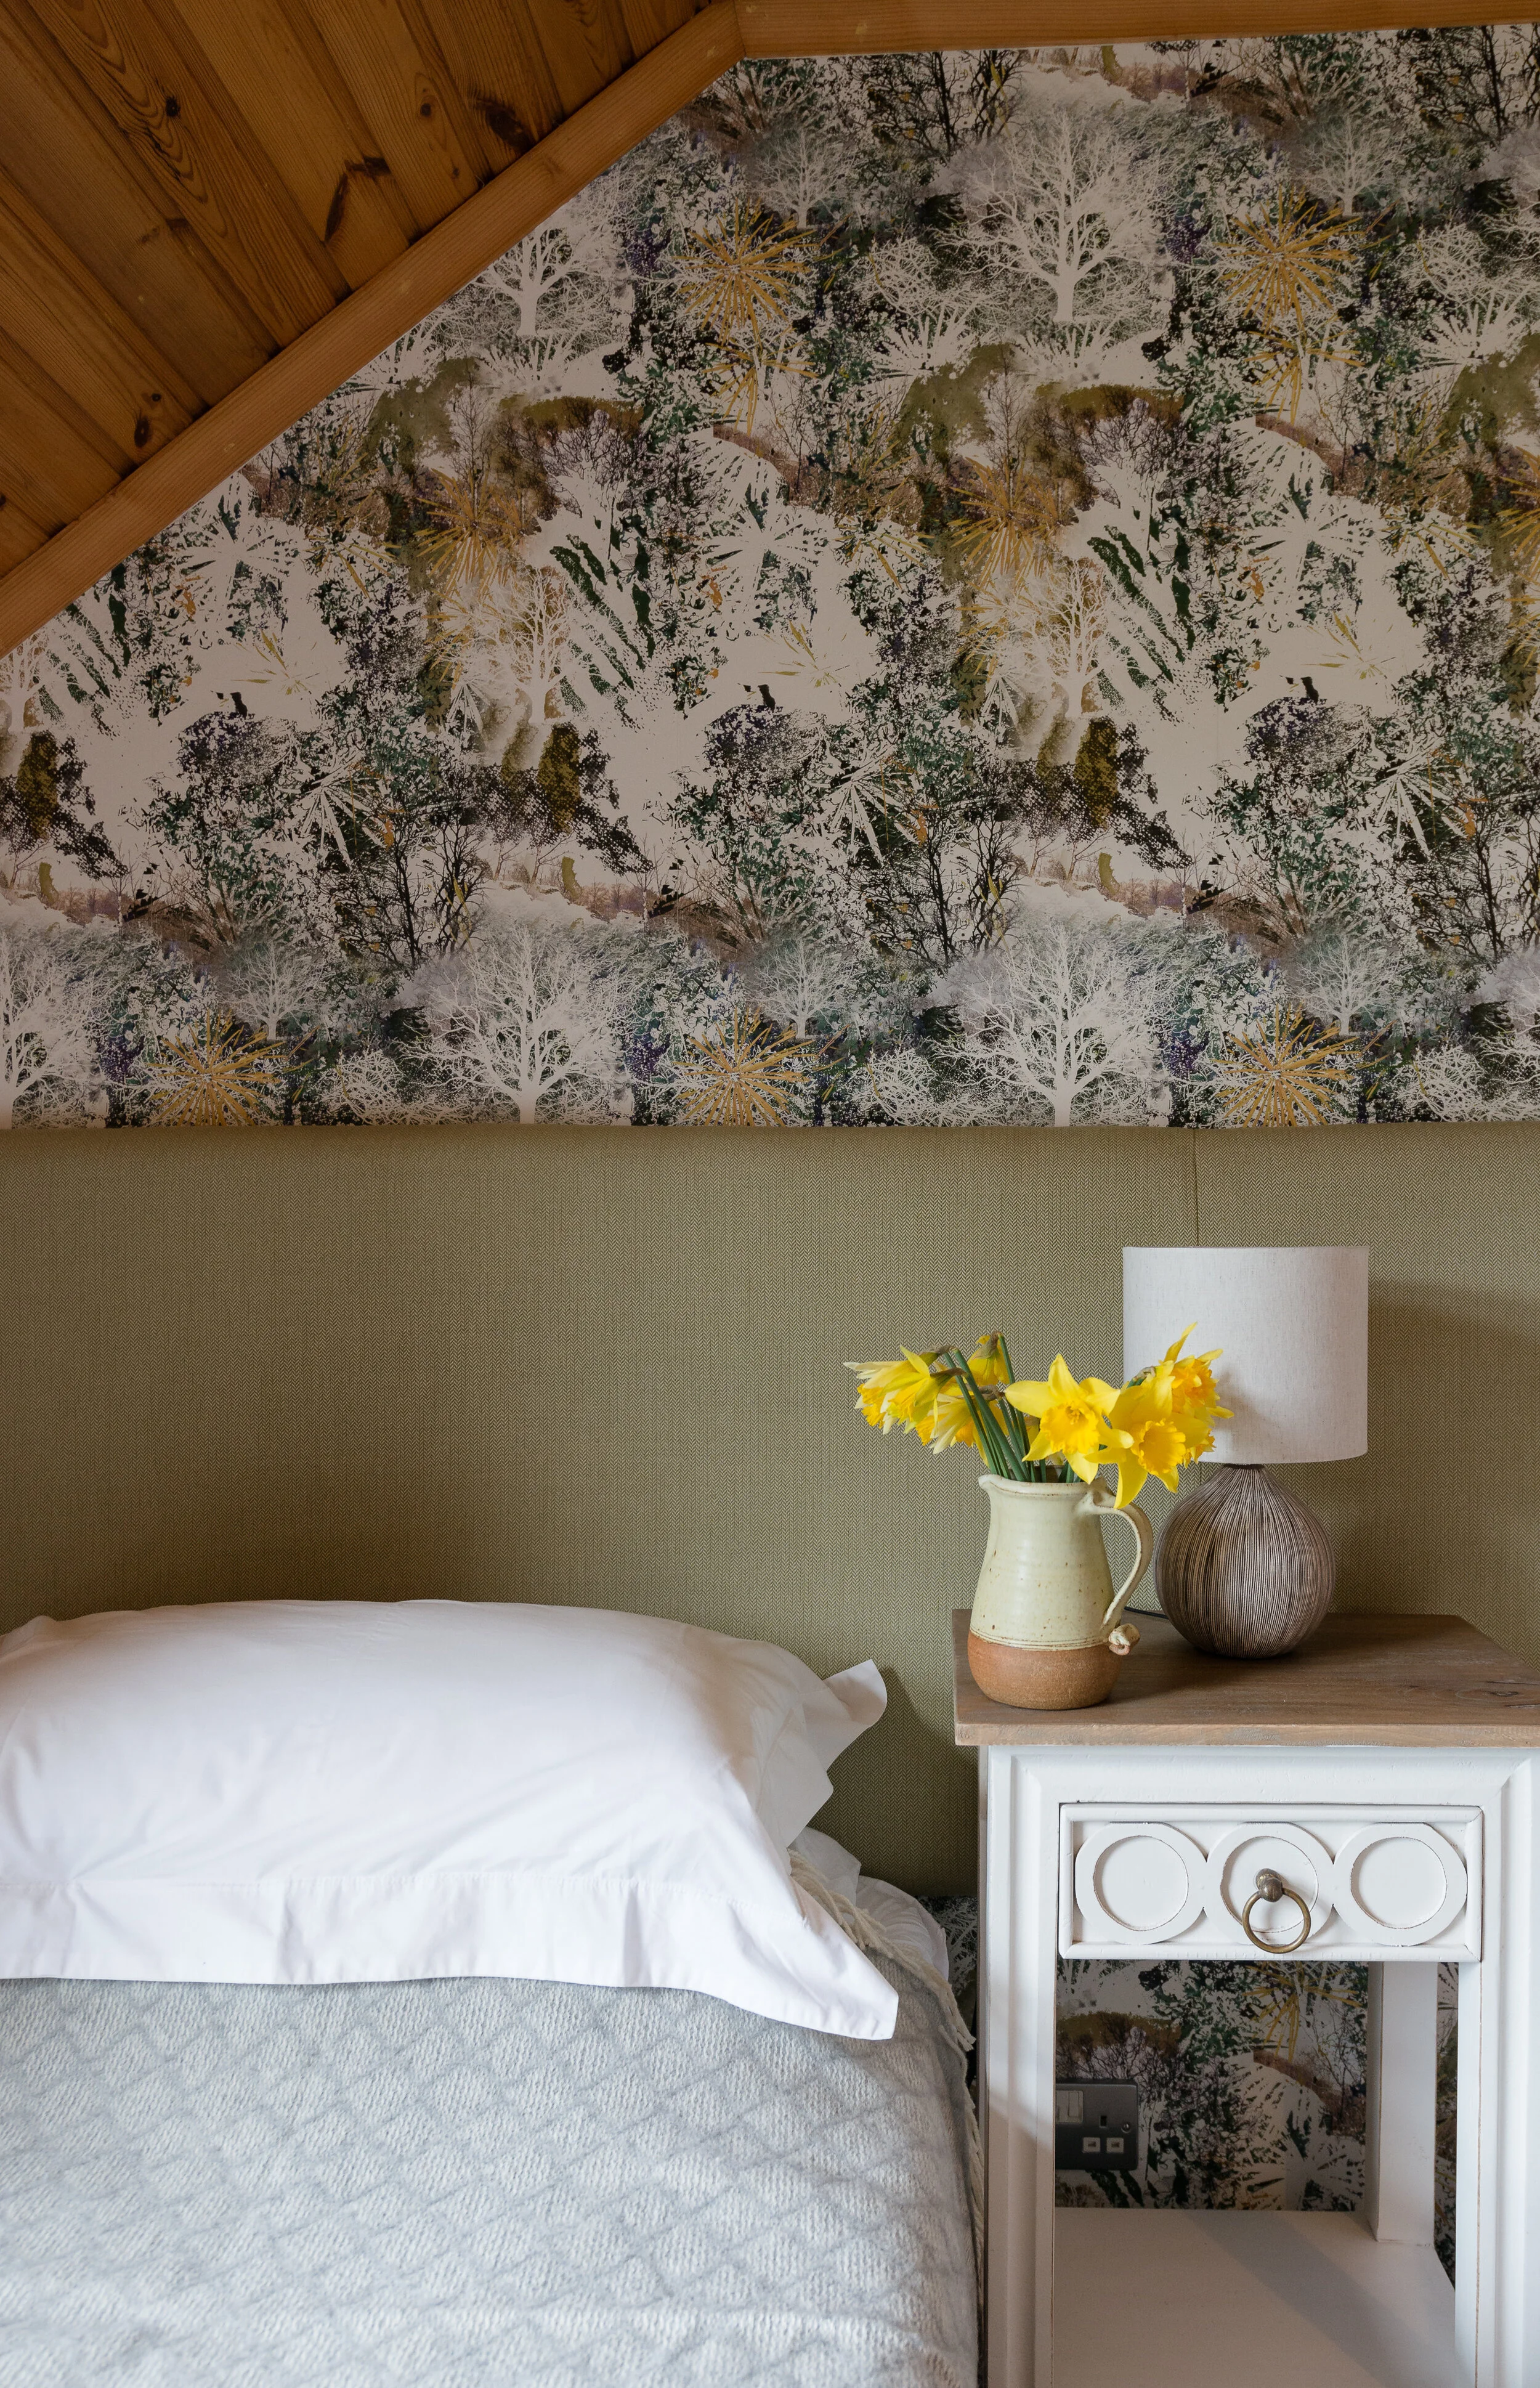
An Instant Room Refresh for Spring
Featuring the Mairi Helena Woodland Rider Wallpaper